How to Get the Most Out of Your Cricut Explore Air 2 invites crafters and enthusiasts alike to explore the versatile capabilities of this innovative cutting machine. With an array of features that distinguish it from its predecessors and competitors, the Explore Air 2 opens doors to creativity and customization. This guide promises to delve into the essential aspects of the machine, ranging from setup to maintenance, ensuring users can maximize their crafting potential seamlessly.
As we navigate through various dimensions of the Cricut Explore Air 2, readers will gain insights into its sophisticated technology, understand the significance of proper material preparation, and explore a variety of project ideas. Knowledge of cutting techniques and community engagement will also be highlighted to enhance the overall crafting experience.
Understanding the Cricut Explore Air 2
The Cricut Explore Air 2 is a versatile cutting machine that stands out in the crafting world due to its advanced features and capabilities. Designed for both beginners and experienced crafters, this machine not only simplifies the cutting process but also expands the creative possibilities available to users. Understanding its unique features helps users maximize their crafting experience.The Cricut Explore Air 2 incorporates dual-tool capability, allowing for both cutting and writing without the need to swap out tools during a project.
This feature significantly reduces the project time and enhances efficiency. The machine utilizes Smart Set Dial technology, which automatically adjusts the cutting settings for a variety of materials, making it user-friendly for all skill levels. Compatible with over 100 different materials, including cardstock, vinyl, iron-on, and even thicker materials like leather, the Cricut Explore Air 2 can tackle a wide range of projects, from home décor to personalized gifts.
Technological Innovations Behind the Cutting Process
The cutting process of the Cricut Explore Air 2 is driven by advanced technology that ensures precision and ease of use. This machine utilizes a fine-point blade and a range of other specialized tools designed to handle various materials effectively. The inclusion of a powerful motor and a robust cutting mechanism allows for intricate designs to be completed with high accuracy.The compatibility with the Cricut Design Space software enhances the cutting experience.
This cloud-based platform provides users with a library of images, fonts, and project templates that can be easily accessed and customized. Additionally, the Bluetooth capability allows for wireless connectivity, enabling users to send their designs directly to the machine from a mobile device or computer.
Comparison with Previous Models
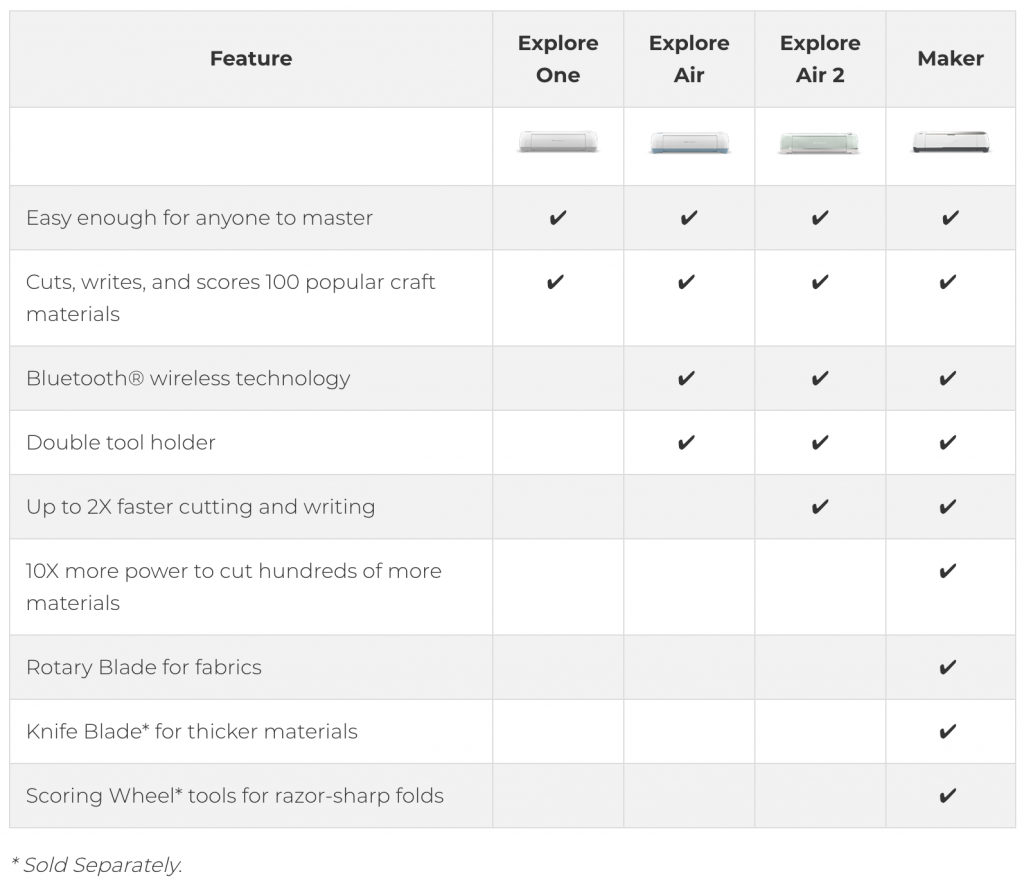
When compared to earlier models, the Cricut Explore Air 2 showcases several improvements that enhance its performance and usability. Notably, the speed of cutting has been significantly increased, allowing projects to be completed in less time. The following table illustrates key differences between the Cricut Explore Air 2 and its predecessor, the Cricut Explore Air.
| Feature | Cricut Explore Air | Cricut Explore Air 2 |
|---|---|---|
| Cutting Speed | Up to 1x speed | Up to 2x speed |
| Dual Tool Capability | Yes | Yes, with improved efficiency |
| Bluetooth Connectivity | Optional | Standard |
| Material Compatibility | Over 50 materials | Over 100 materials |
The upgrades in the Cricut Explore Air 2 not only make it a more efficient tool for crafting but also enhance the user experience through improved software integration and material compatibility. As a result, users can expect a higher level of creativity and precision in their projects.
Setting Up Your Cricut Explore Air 2
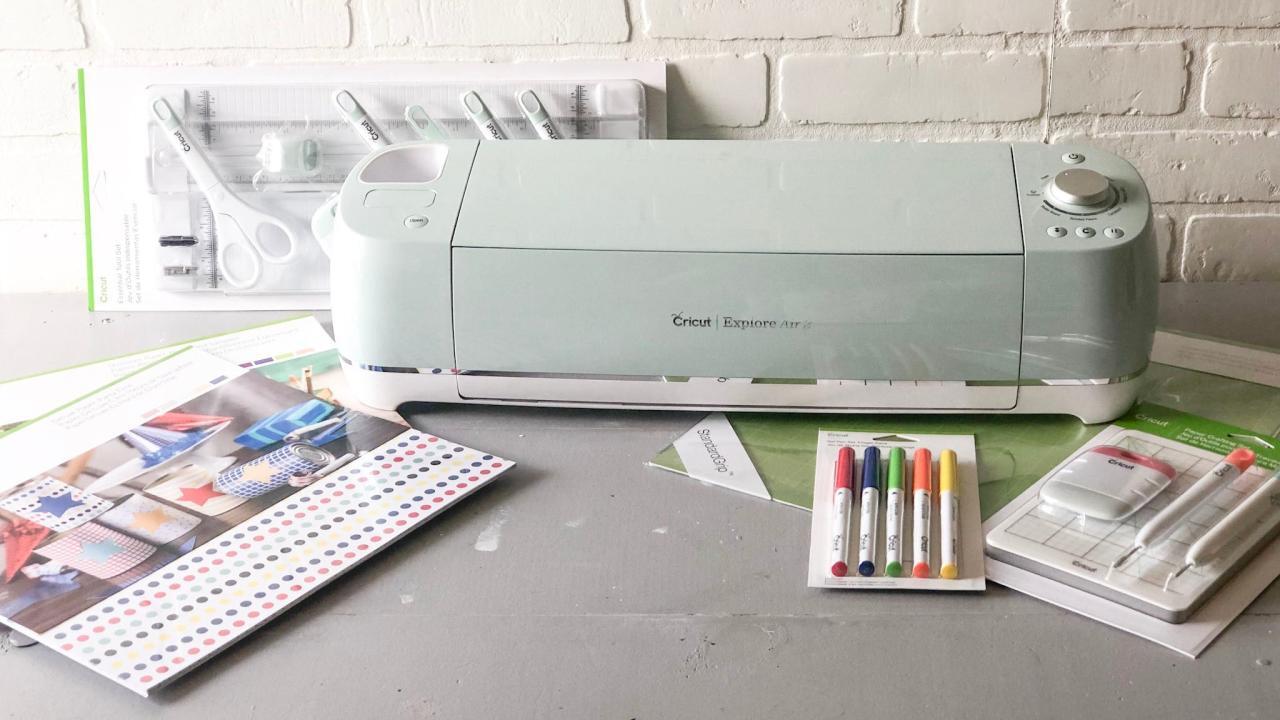
Setting up your Cricut Explore Air 2 for the first time is an exciting step towards exploring your creativity. This guide will walk you through the essential steps to unbox, set up, and connect your machine, ensuring you harness its full potential right from the start.Unboxing your Cricut Explore Air 2 is the first step. Carefully remove the machine from its packaging, taking care not to damage any components.
Ensure that you have all items included in the box, which typically consist of the Cricut Explore Air 2 machine, a power adapter, a USB cable, and a sample material for your initial projects. Once everything is accounted for, proceed to set it up in a designated workspace where you can operate it comfortably.
Connecting the Cricut Explore Air 2 to Your Computer or Mobile Device
Establishing a connection between your Cricut Explore Air 2 and your computer or mobile device is crucial for utilizing its full functionality. Follow these steps to ensure a smooth connection:
1. Power the Machine
Plug in the power adapter to an electrical outlet and connect it to your Cricut Explore Air 2. Press the power button to turn it on.
2. Choose Your Connection Method
The machine can be connected via USB cable or Bluetooth.
For USB
Connect one end of the USB cable to the machine and the other to your computer.
For Bluetooth
Enable Bluetooth on your computer or mobile device. On the machine, access the Bluetooth settings and select “Pair New Device.” Follow the prompts on your device to complete the pairing.
3. Install the Cricut Design Space Software
This software is essential for designing and sending projects to your machine. Download it from the Cricut website and follow the installation instructions for your operating system.
4. Register Your Machine
Once the software is installed, open Cricut Design Space. You will need to create a Cricut account if you don’t have one. Register your machine using the serial number found on the bottom of the machine.The importance of software installation and updates cannot be overstated. Keeping your Cricut Design Space software up to date ensures that you have the latest features and enhancements, which contributes to optimal machine performance.
Regular updates can also resolve any bugs or issues that may arise, allowing for a seamless crafting experience.
“Maintaining the latest version of your software enhances compatibility and introduces new tools to expand your creative capabilities.”
In summary, by following these detailed steps, you will be well on your way to enjoying your Cricut Explore Air 2. Taking the time to properly set up your machine and ensure software readiness will lead to a more enjoyable crafting experience.
Navigating Design Space
Cricut Design Space is an essential platform for unleashing your creativity with the Cricut Explore Air 2. It provides you with a wide array of tools and resources to design, customize, and bring your projects to life. Understanding how to navigate this software effectively is crucial for maximizing your crafting potential.
Creating an Account and Logging In
To begin your journey with Cricut Design Space, you need to create an account. This process ensures your designs and projects are saved securely and allows you to access them from any device. Follow these steps:
- Visit the Cricut website and click on the “Sign Up” option.
- Fill in your email address and create a password.
- Accept the terms and conditions and click “Create Account.”
- You will receive a confirmation email; click on the link provided to verify your account.
- Once verified, return to the Cricut website and click “Log In.”
- Enter your registered email and password to access Cricut Design Space.
Logging in allows you to explore a plethora of design options and access your saved projects anytime.
Exploring Templates, Fonts, and Design Tools
Cricut Design Space offers a variety of templates, fonts, and design tools that cater to different crafting needs. Familiarizing yourself with these resources enhances your design experience and creativity. Here’s how to navigate them:
Templates
You can find a wide selection of templates for various projects, ranging from home decor to personalized gifts. To access templates:
Click on the “Templates” tab in the left-hand menu.
Browse through categories such as “Cards,” “Home Décor,” or “Apparel” to find inspiration for your next project.
Fonts
The software includes numerous fonts, both standard and premium. To select a font:
Select the text tool and type your desired text.
The font drop-down menu will allow you to scroll through available fonts and choose one that matches your project’s theme.
Design Tools
Design Space provides several tools for editing and customizing your projects. Key tools include:
Shapes
Add basic shapes like circles, squares, and more to create complex designs.
Images
Access a library of images that can be used in your projects. You can upload your images as well.
Cutting and Layering Tools
Adjust the size and layers of your design elements for the perfect cut.
Saving and Organizing Projects
Efficiently saving and organizing your projects within Cricut Design Space allows for easy access and retrieval. Here are the steps to manage your projects effectively:
Saving Projects
After designing, click the “Save” button located in the upper right corner.
Naming Your Project
In the prompt that appears, enter a descriptive name for your project to facilitate easy identification in the future.
Organizing Projects
Create folders for different types of projects or themes:
Go to “My Projects” to view all saved items.
Click on “Create New Folder,” name your folder, and drag your projects into the appropriate folders for better organization.
Utilizing these features will streamline your crafting process, allowing you to focus on creativity and design.
Material Selection and Preparation
Selecting the right materials is crucial for achieving optimal results with the Cricut Explore Air 2. This versatile cutting machine works with an extensive range of materials, allowing users to explore their creativity with different projects. From crafts to home décor, knowing what materials are suitable and how to prepare them can enhance the overall quality of the output.Proper material preparation is significant before cutting as it ensures clean, precise cuts and reduces the likelihood of material wastage.
Preparing materials involves checking for any wrinkles, ensuring a proper adhesive backing when using vinyl, and correctly placing materials on the cutting mat. Adequate preparation not only improves the cutting process but also ensures that the final product meets the desired quality and functionality.
Suitable Materials for Cricut Explore Air 2
The Cricut Explore Air 2 accommodates a wide variety of materials, making it a favorite among crafters. Here are some of the materials suitable for use:
- Vinyl (Permanent and Removable)
- Iron-On (Heat Transfer Vinyl)
- Cardstock
- Paper
- Fabric
- Wood (Thin sheets)
- Leather (Thin types)
- Adhesive Foil
Importance of Proper Material Preparation
Before cutting, preparing materials is essential for achieving the best results. Proper preparation includes smoothing out any wrinkles or folds and ensuring that the material adheres well to the cutting mat. This ensures uniformity during the cutting process. Materials that aren’t properly prepared can lead to misalignments and uneven cuts.
“Properly prepared materials contribute significantly to the quality and precision of your Cricut projects.”
Recommended Blade Settings for Various Materials
Using the correct blade settings is vital for cutting different materials effectively. Here is a table listing recommended blade settings for various materials:
| Material | Blade Type | Blade Setting | Cut Pressure |
|---|---|---|---|
| Vinyl (Permanent) | Standard Blade | 2 | Default |
| Vinyl (Removable) | Standard Blade | 3 | Default |
| Iron-On | Standard Blade | 3 | Default |
| Cardstock | Standard Blade | 4 | Default |
| Fabric | Fabric Blade | 5 | Medium |
| Wood (Thin) | Knife Blade | 8 | High |
| Leather (Thin) | Standard Blade | 6 | Medium |
| Adhesive Foil | Standard Blade | 3 | Default |
Mastering Cutting Techniques
The Cricut Explore Air 2 is equipped with advanced smart cut technology, allowing users to create intricate designs with precision. Mastering the cutting techniques will enable you to fully leverage the capabilities of your machine, enhancing the quality of your projects. This section delves into effective methods for utilizing the machine’s technology, adjusting settings for detailed cuts, and troubleshooting common cutting issues.
Effective Use of Smart Cut Technology
Utilizing the smart cut technology effectively involves several key strategies. This technology allows the machine to detect material thickness and adjust cutting pressure accordingly, ensuring clean and accurate cuts.
Adjusting the blade depth and pressure settings can significantly enhance the output quality for various materials.
To maximize the effectiveness of the smart cut technology, consider the following points:
- Utilize the right blade for the specific material being cut, as this greatly influences the cutting process.
- Regularly calibrate your machine to ensure optimal performance, particularly if you notice discrepancies in cut quality.
- Experiment with different materials and settings to find the best combination for your projects.
Adjusting Settings for Intricate Designs
When working with intricate designs, precise adjustments to the cutting settings are crucial for achieving the desired results. Detailed cuts require careful monitoring of both pressure and speed settings.Begin by following these steps to adjust your settings:
- Access the “Custom Materials” option in Design Space and choose the material type. This will automatically suggest optimal settings.
- For intricate designs, reduce the cutting speed to enhance accuracy, especially on delicate materials.
- Increase the blade pressure for thicker materials to ensure complete cuts without tearing.
Troubleshooting Common Cutting Issues
Despite the advanced capabilities of the Cricut Explore Air 2, users may encounter cutting issues from time to time. Recognizing and addressing these problems promptly will improve your cutting experience.Consider these common issues and their solutions:
- If the cuts are not complete, check if the blade is dull and replace it if necessary.
- Ensure that the material is properly loaded and aligned on the cutting mat, as misalignment can cause uneven cuts.
- In case of uneven or jagged cuts, verify that the correct material settings are selected and recalibrate if needed.
By mastering these cutting techniques, you will enhance your proficiency with the Cricut Explore Air 2, resulting in beautifully crafted designs that meet your creative vision.
Exploring Project Ideas

The Cricut Explore Air 2 opens up a world of creative possibilities for crafters of all skill levels. This versatile cutting machine can be utilized to create a variety of projects, ranging from simple to intricate designs. By exploring beginner-friendly projects, users can quickly become familiar with the capabilities of their machine while producing beautiful and functional items.One of the joys of owning a Cricut Explore Air 2 is the ability to make personalized gifts and home décor.
With a few basic materials and the right techniques, users can create items that reflect personal style and sentiment. The following sections Artikel several beginner-friendly projects along with detailed procedures for creating custom apparel and vinyl decals.
Beginner-Friendly Projects
Embarking on craft projects with the Cricut Explore Air 2 can be both enjoyable and rewarding. Here are several easy project ideas that are perfect for those just starting out:
- Custom Greeting Cards: Design and cut unique cards for any occasion using various cardstocks and embellishments.
- Personalized Tote Bags: Utilize iron-on vinyl to create customized tote bags that are functional and stylish.
- Home Décor Signs: Craft decorative wall signs using wood or MDF and apply vinyl lettering for a personal touch.
- Labels and Organizers: Create functional and aesthetic labels for storage containers, enhancing organization at home.
- Photo Frames: Design and cut decorative elements for photo frames, adding a personal flair to your cherished memories.
Personalized Gifts and Home Décor
Creating personalized gifts and home décor items is a fantastic way to use the Cricut Explore Air
2. Here are some procedures to follow when crafting these unique items
1. Select Your Design
Use Design Space to choose or create a design that resonates with the recipient or matches your home décor style.
2. Choose Your Material
Depending on the project, select from various materials such as cardstock, vinyl, or fabric.
3. Cut the Design
Load the material into the Cricut Explore Air 2, and let the machine cut your design accurately.
4. Assemble the Project
For items like signs, adhere your cut elements to the base material using glue or transfer tape, ensuring everything is aligned correctly.
5. Finish and Personalize
Add any additional embellishments or finishes to enhance the project, such as paint, glitter, or additional layers.
Creating Custom Apparel and Vinyl Decals
Custom apparel and vinyl decals offer a wonderful way to express individuality. Below is a straightforward approach to creating these items:
1. Design Selection
Choose a design that suits your style; this can be text, graphics, or a combination of both.
2. Material Preparation
For apparel, select heat transfer vinyl (HTV), and for decals, use adhesive vinyl. Ensure the material is compatible with your design.
3. Cutting the Vinyl
Load the chosen vinyl into the Cricut Explore Air 2 and cut the design. Remember to mirror the design for HTV projects.
4. Weeding
Remove excess vinyl carefully, leaving only the desired design.
5. Heat Application
For apparel, position the design on the fabric and use a heat press or iron to apply it according to the vinyl manufacturer’s instructions. For decals, simply peel and stick onto a clean surface.
6. Final Touches
Ensure that the design is securely adhered and, if applicable, follow any post-application care instructions.The Cricut Explore Air 2 empowers users to unleash their creativity through a diverse range of projects. By exploring these beginner-friendly ideas, anyone can enhance their crafting skills while producing beautiful, personalized items that can be cherished or gifted.
Maintenance and Care
Routine maintenance is essential to ensure the longevity and optimal performance of the Cricut Explore Air 2. Proper care not only enhances the machine’s efficiency but also prevents potential issues that could arise from neglect. By adhering to a few simple maintenance tasks, you can keep your Cricut in excellent working condition for years to come.
Routine Maintenance Tasks
Regular maintenance tasks help maintain the functionality and performance of your Cricut Explore Air
2. The following points Artikel key maintenance activities you should incorporate into your routine
- Cleaning the exterior: Regularly wipe down the outside of the machine with a soft, lint-free cloth to remove dust and debris. This helps maintain its appearance and prevents dust from entering the internal components.
- Cleaning the cutting mat: After several uses, the cutting mat can accumulate residue from materials. Use a scraper or a soft brush to clean the mat gently. If it becomes excessively dirty or loses its stickiness, consider replacing it.
- Checking the blades: Regularly inspect the blades for signs of wear. A dull blade can affect cutting precision and quality, making it important to check them frequently.
Blade Care and Replacement Schedules
Taking care of the blades is crucial for maintaining cutting quality. Each blade type has its own lifespan based on usage frequency and material being cut. Here are important considerations for blade care and replacement:
- Regular inspections: Examine your blades for any nicks, dullness, or damage. If you notice that the blade is no longer cutting smoothly or is producing uneven cuts, it is time for replacement.
- Replacement schedule: A general guideline is to replace the Fine Point Blade after cutting about 50 to 100 projects, depending on the material. Specialty blades, such as the Deep Point or rotary blades, may require more frequent replacements based on their use.
- Storage: Store blades in a safe, protective case to prevent damage and maintain their sharpness. Avoid leaving blades exposed to air or moisture, which can lead to rusting.
Cleaning the Machine and Organizing the Workspace
Keeping your Cricut Explore Air 2 clean and your workspace organized will enhance your crafting experience and ensure the machine performs optimally. Here are effective tips for cleaning and organizing:
- Internal cleaning: Periodically use a can of compressed air to blow out dust and debris from the machine’s internal components. Be cautious not to touch any sensitive parts directly.
- Workspace organization: Maintain a dedicated crafting area with designated storage for tools, materials, and accessories. Use bins or drawers to categorize items, making it easier to locate what you need.
- Routine checks: Assess your workspace regularly to eliminate clutter and ensure all tools are within reach. A tidy environment can boost creativity and effectiveness during projects.
Joining the Cricut Community

Connecting with fellow Cricut users can greatly enhance your crafting experience. Engaging with others who share your enthusiasm for the Cricut Explore Air 2 can provide you with support, inspiration, and valuable tips that can elevate your projects. The Cricut community is vibrant and diverse, allowing for a plethora of opportunities to connect and collaborate.
Connecting Through Online Forums and Social Media Groups
The internet offers numerous platforms where Cricut enthusiasts can connect. Online forums and social media groups serve as great avenues for sharing ideas, seeking advice, and showcasing projects. The benefits of joining these groups are manifold:
- Access to a Wealth of Knowledge: Experienced users often share tutorials, tips, and troubleshooting advice that can help you navigate challenges.
- Inspiration from Others: Browsing through the projects shared by fellow crafters can ignite your creativity and encourage you to try new techniques.
- Networking Opportunities: Building relationships with other crafters can lead to collaborations and friendships that extend beyond crafting.
Benefits of Attending Cricut Workshops and Local Events
Attending Cricut workshops and local events is an excellent way to deepen your understanding of the machine while meeting other crafters in person. These events often include hands-on sessions that allow participants to explore advanced techniques and features of the Cricut Explore Air 2.
- Hands-On Learning: Workshops provide a practical environment to learn directly from experienced instructors and ask questions in real-time.
- Community Building: Local events foster a sense of camaraderie as attendees share their experiences and tips in a supportive atmosphere.
- Exclusive Offers: Many events feature special promotions on Cricut products or supplies that can enhance your crafting toolkit.
Advantages of Sharing Projects and Collaborating with Other Crafters
Sharing your projects and collaborating with fellow crafters can significantly enrich your crafting journey. When you share your creations, you invite constructive feedback and new perspectives that can help improve your skills.
- Feedback and Improvement: Receiving input from others can highlight areas for improvement or reinforce successful techniques.
- Collaboration Opportunities: Working with others allows you to combine skills and ideas, leading to innovative projects that you might not have created alone.
- Community Recognition: Sharing your work within the community can lead to recognition and inspire others, creating a culture of encouragement and support.
Concluding Remarks
In conclusion, mastering the Cricut Explore Air 2 is not merely about understanding its functions but embracing the creativity it inspires. By following the insights provided in this guide, users can effectively harness the machine’s capabilities to create stunning projects that reflect their personal style. Whether it’s through sharing within the Cricut community or exploring new design possibilities, the journey of crafting with the Explore Air 2 promises to be enriching and fulfilling.